
Last updated November 21, 2026
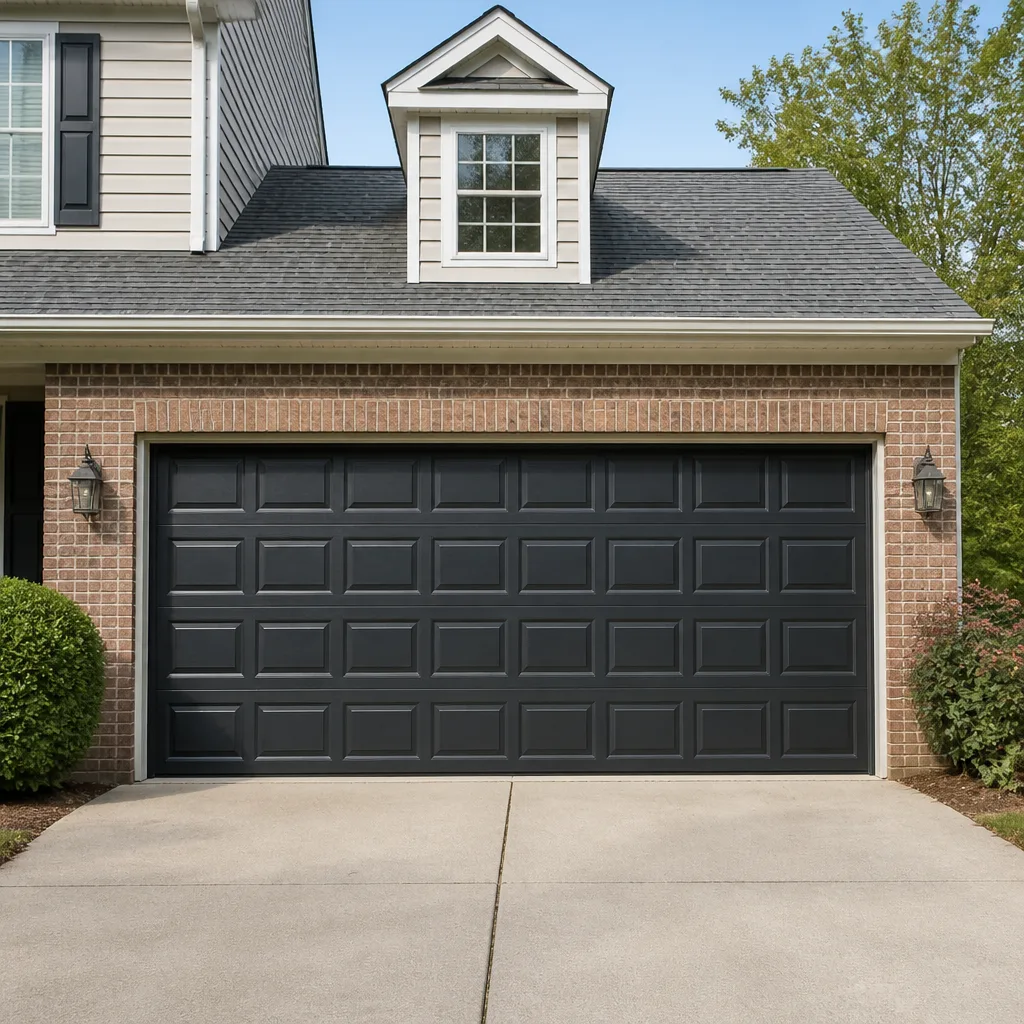 Raised-panel steel
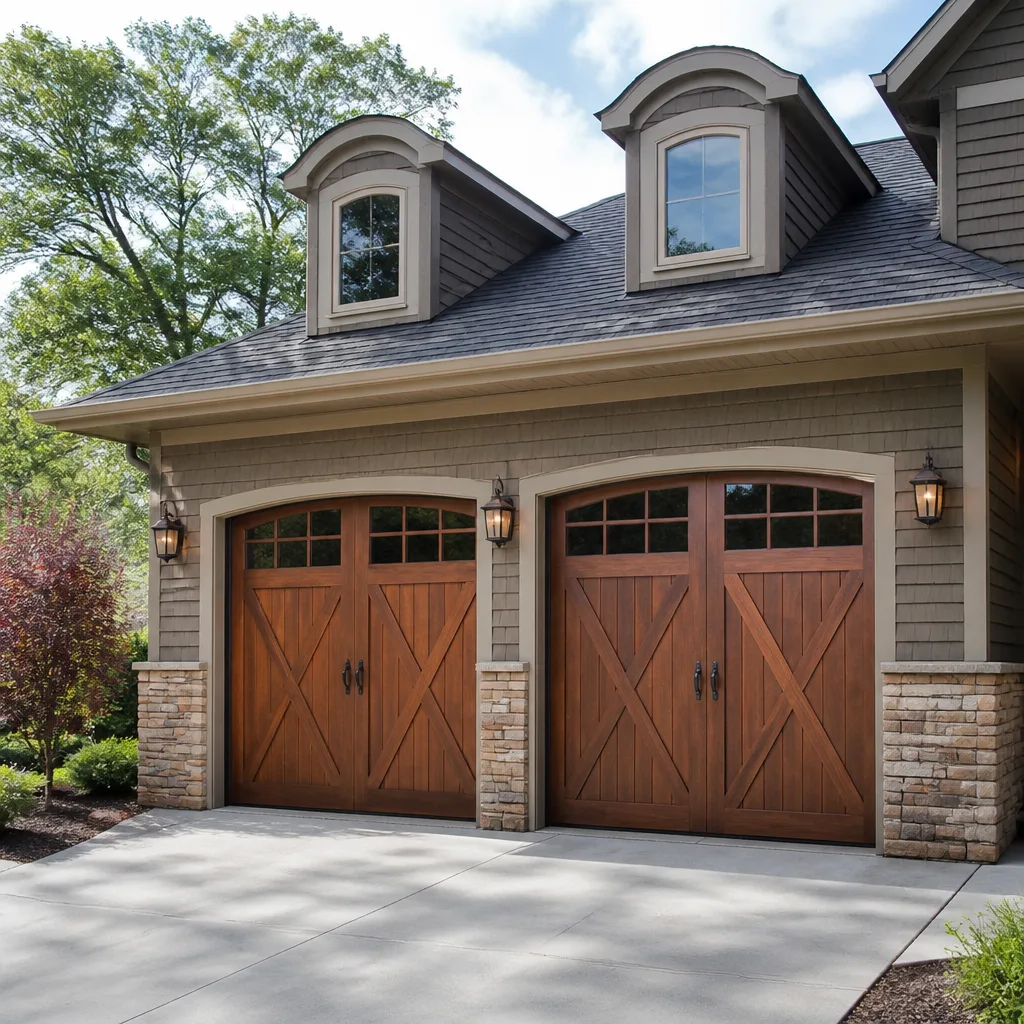 Carriage house
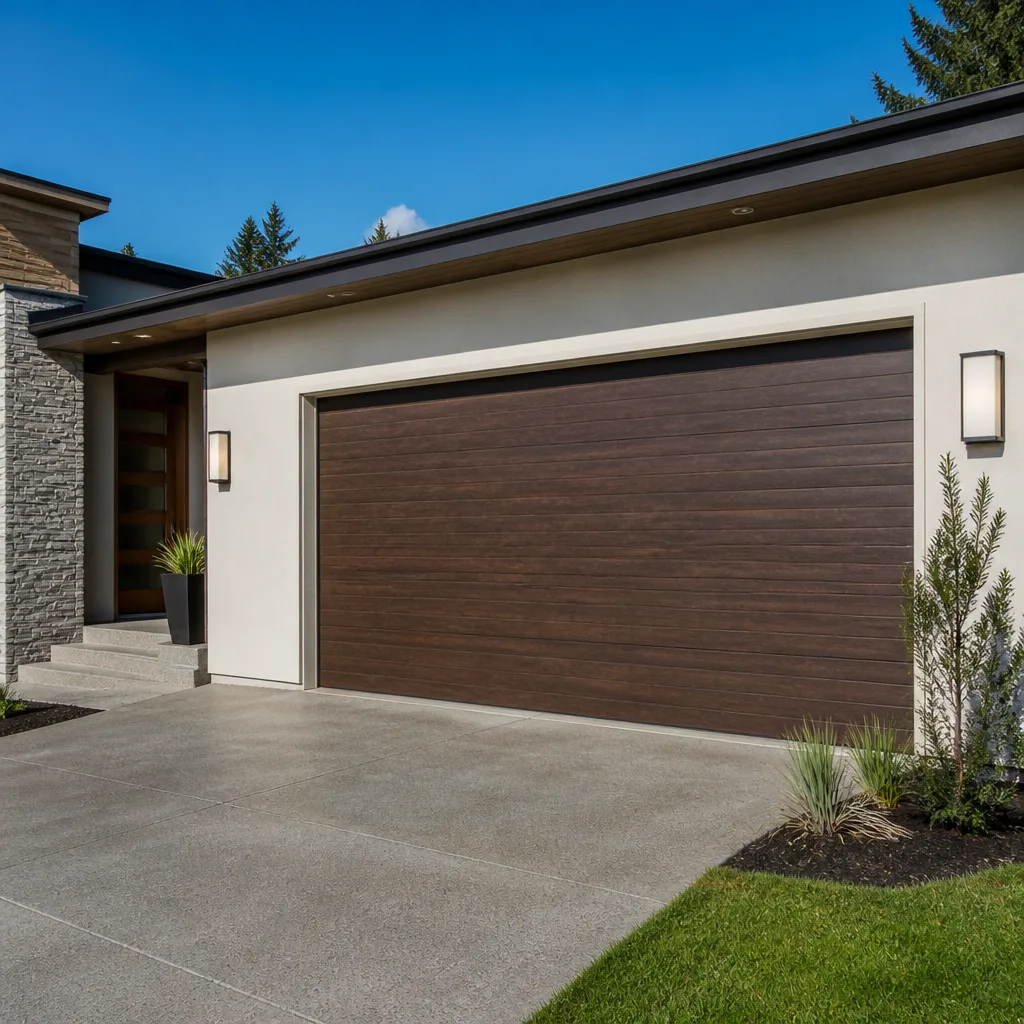 Modern flush
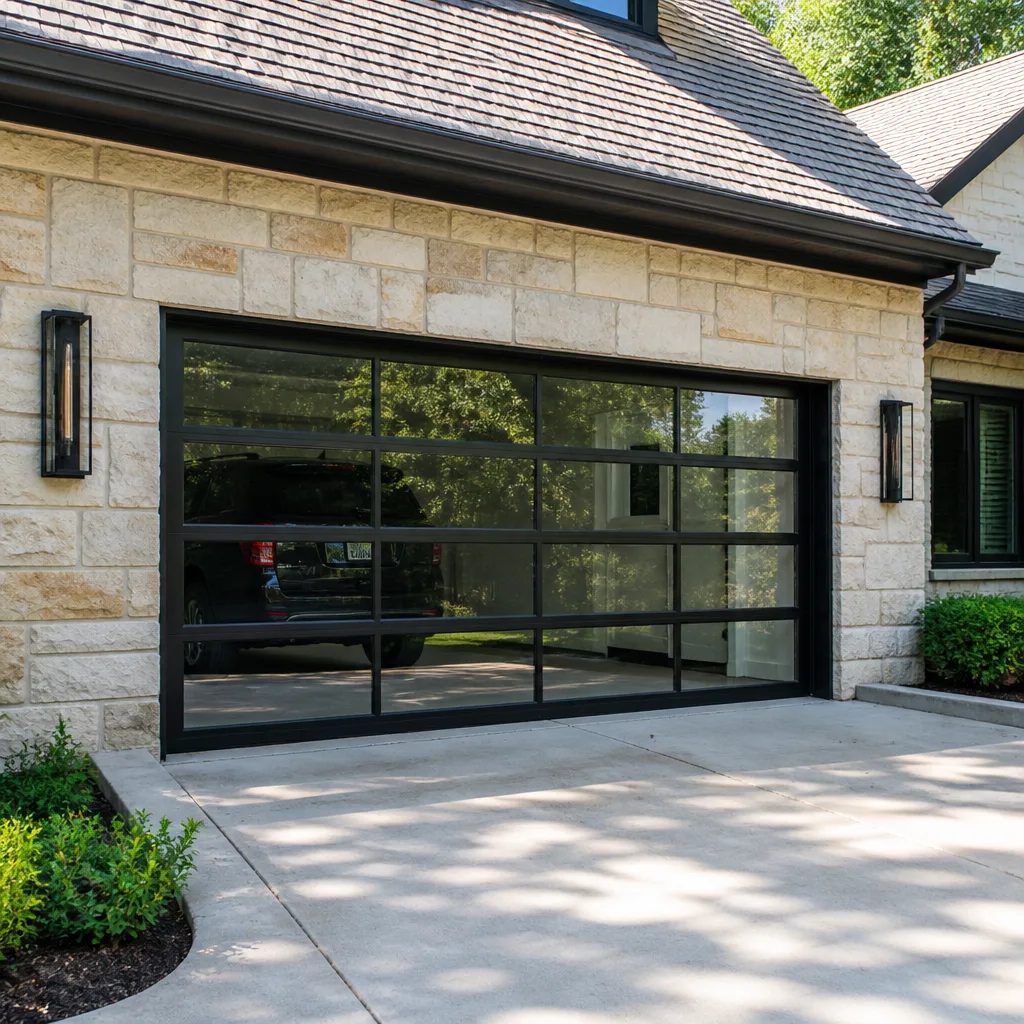 Full-view glass
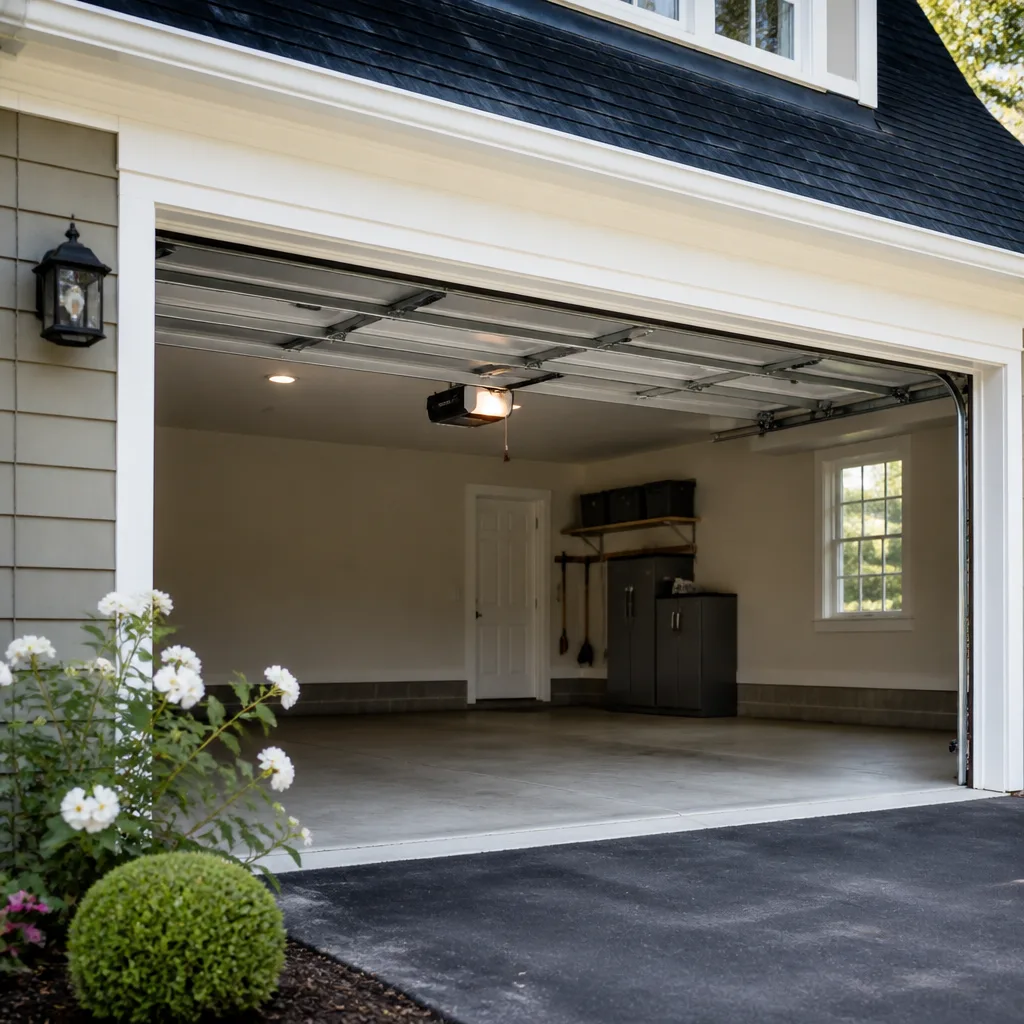 LiftMaster openers
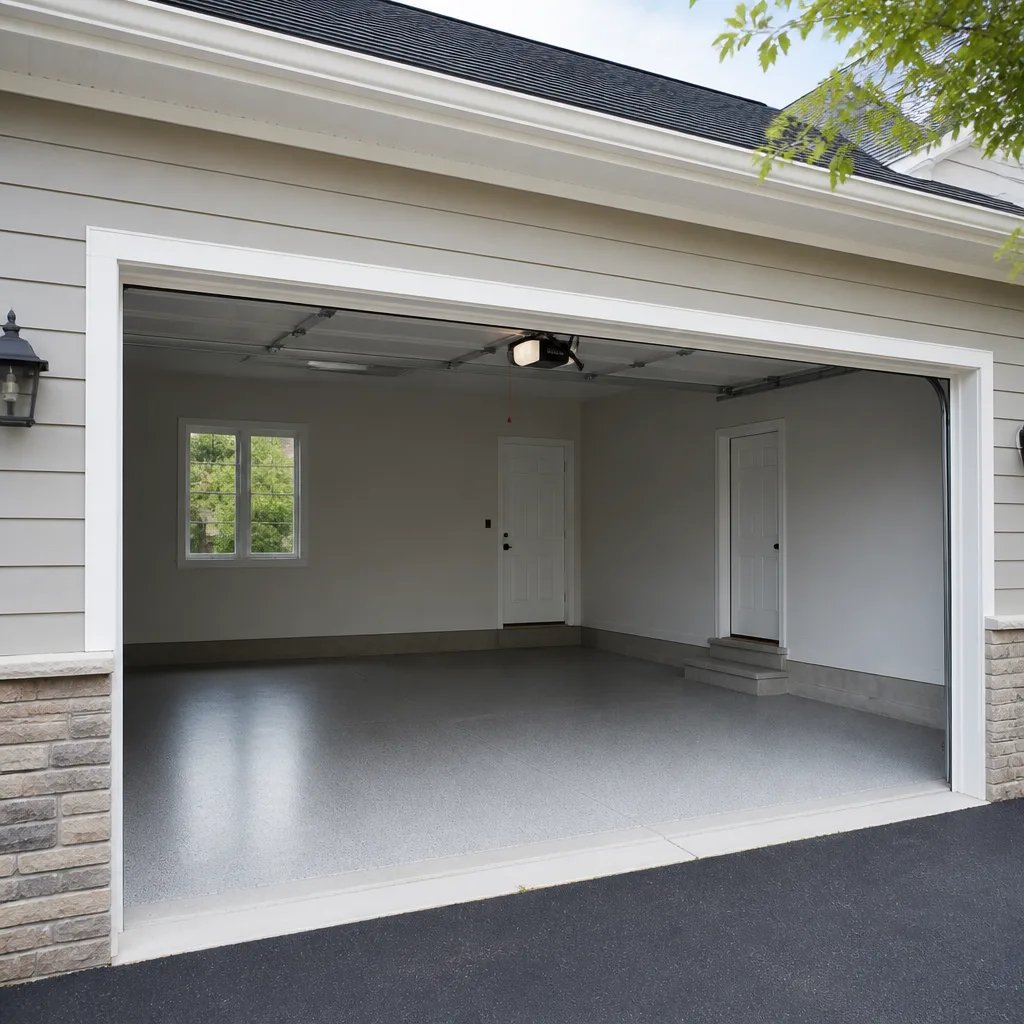 Chamberlain openers
Full 25-point door and opener safety check with every visit - springs, cables, rollers, tracks, and your LiftMaster or Chamberlain opener included
You get a price before we start. It does not change when the pro arrives.
Get your free estimateGarage Door Repair Troubleshooting in Chesapeake: Common Problems and How to Fix Them
Most homeowners describe a failing garage door the same way: “it’s broken.” That word hides five very different mechanical problems, and the whole cost of the repair depends on figuring out which one you actually have. A door that reverses before it closes is saying something completely different from a door that won’t move at all, and treating those two the same way is where small fixes turn expensive. This guide teaches you to read your door’s symptoms the way a technician does, so you know what’s wrong, what you can safely check yourself, and what to leave alone. It’s written for Chesapeake homes, where the local climate stresses certain parts harder than most generic guides admit.
Quick Answer
Garage door troubleshooting in Chesapeake starts with matching the symptom to one of five root causes: a sensor or safety-device fault, a spring or cable failure, an opener logic or limit problem, a track or roller obstruction, or a door balance issue. The first two are usually a call-a-professional situation. Sensor alignment and obstruction issues are often a simple homeowner check. If the door won’t move, makes a bang, or travels crooked, stop and get a trained technician out before you touch anything.
Styles & brands we work with
- Raised-panel steel
- Carriage house
- Modern flush
- Full-view glass
- LiftMaster openers
- Chamberlain openers
Table of Contents
- The Symptom-to-Cause Diagnostic Tree
- How Chesapeake Humidity Affects Springs and Seals
- Limit Switch, Sensor, or Logic Board: Three Problems, One Symptom
- Testing Door Balance Before You Blame the Opener
- Brand-Specific Behavior on LiftMaster, Chamberlain, Craftsman, and Raynor
- The Stop List: Components You Should Never Touch
- Which Repairs Can Void Your Manufacturer Warranty
- Common Mistakes to Avoid
- When to Call a Professional
- Frequently Asked Questions
The Symptom-to-Cause Diagnostic Tree
Start with the symptom. When a technician arrives at a Chesapeake home, the first thing they do is observe the door in motion, because behavior tells almost the whole story. You can do the same observation before you call. Here’s how the most common symptoms map to their likely causes.
- The door reverses before it touches the floor. This is almost always the safety sensor or the travel limit, not the motor. Check whether something is in the sensor beam path or whether the sensors have been knocked out of alignment.
- Nothing happens when you press the remote or wall button. Likely a dead opener logic board, a tripped breaker, or a failed safety-reverse circuit. Sometimes the remote battery, but if the wall button also does nothing, look at the opener itself.
- The door moves but grinds or screeches. Worn rollers, dry hinges, or a track that’s been pushed out of line. This is a mechanical wear issue, not an opener issue.
- The door opens crooked or binds on one side. A snapped or stretched cable, a broken spring on one side of a two-spring setup, or a bent track. Stop using the door: this is where the mechanism can bind hard and do damage.
- You hear a loud bang from above and the door won’t lift. That bang is a torsion spring breaking. This is one of the most common calls we take in Chesapeake, and it is never a do-it-yourself job.
The pattern to internalize: if the door moves smoothly but won’t stay closed or won’t respond, it’s usually electronics. If it moves roughly, crooked, or not at all with a bang, it’s mechanical. Those two categories get different responses from you and different tools from a technician. Call Chesapeake Garage Door Repair Experts when the symptom lands in the mechanical category and you’re not sure where to start. We answer 24/7, with fast dispatch from 7am to 7pm, Sunday through Friday.
How Chesapeake Humidity Affects Springs and Seals
Chesapeake sits in a humid, four-season climate with hot summers and damp stretches through the year, and that has a real effect on two components that inland, drier-climate guides rarely mention: torsion springs and the bottom seal. The moisture in the air doesn’t break a spring overnight, but it accelerates the corrosion that leads to fatigue failure. A torsion spring is a tightly wound coil of steel under constant tension. When surface corrosion sets in, microscopic stress points form along the wire, and the spring weakens in ways you can’t see until it snaps. That’s why spring replacement here tends to come as a surprise rather than a slow decline you notice.
The bottom seal is the rubber or vinyl strip along the bottom of the door. Humidity plus summer heat bakes that seal, and it cracks, hardens, and eventually stops sealing. A failing bottom seal lets humid air, insects, and rainwater under the door, and it also throws off the door’s weather-tightness and can interfere with the safety reverse system. When you check your door’s balance and travel, run your hand along the bottom seal too. If it’s brittle or gapping, it’s worth replacing before it starts letting water into the garage.
Two maintenance habits help in this climate: keep the springs and hinges lightly lubricated (a garage door lubricant, not household oil) and keep the bottom threshold clear of debris and standing water. You can’t stop humidity, but you can slow what it does to your hardware. Our technicians have up to 9 years of experience working in exactly this climate and know which failure points show up here most.
Limit Switch, Sensor, or Logic Board: Three Problems, One Symptom
Here’s a scenario every homeowner runs into: the door starts down, reverses halfway, and goes back up. That’s one symptom with three possible causes, and knowing the difference tells you whether to grab a screwdriver or pick up the phone. The three culprits are the travel limit switch, the safety sensors, and the opener logic board.
- Check the safety sensors first. Look at the two small units on either side of the door near the floor. Each should have a steady indicator light. If one is dark or flashing, it’s misaligned, dirty, or blocked. Wipe the lenses and make sure nothing (a broom, a bike, a sagging seal) blocks the beam. This fix costs nothing and solves a large share of reverse-on-close issues.
- Look at the travel limit next. On the opener housing, the limit switches set how far the door travels up and down. If the down limit is set too high, the opener thinks it has hit the floor before it actually has and reverses. Adjusting limits is doable on a properly installed opener, but go slowly and test after each small change.
- Suspect the logic board last. If the sensors and limits are correct but the opener still behaves erratically (lights flashing in a pattern, no response, brief power to the motor and nothing more), the control board inside the opener may have failed. That’s an opener repair, not a homeowner adjustment, and it’s often cheaper to repair or replace the opener than to chase a board fault.
Why does the order matter? Because the cheap, safe checks come first. Reverse-on-close that turns out to be a sensor issue is a five-minute fix. If you jump straight to the limit switches or the board, you waste time – or, in the case of a wrong limit adjustment, chase a problem you create. If the three checks don’t resolve it, that’s a garage door opener repair issue that a technician should handle.
Testing Door Balance Before You Blame the Opener
A surprising number of “bad opener” complaints are really a door that’s out of balance. The opener isn’t meant to lift the full weight of the door on its own; it’s designed to assist a door that’s properly sprung. If the springs are weak, the opener works too hard, which shows up as straining, overheating, and premature failure. Before you spend money on opener repair, test the door’s balance.
- Pull the manual release cord (the rope hanging from the opener carriage) to disconnect the door from the opener. Make sure no one is standing under the door and the door is fully closed first.
- Lift the door by hand to about halfway open. If it stays put, it’s balanced. If it sinks back down on its own, the springs are weak. If it rises on its own after you let go, the springs are over-tensioned.
- Reconnect the door to the opener by pressing the wall control. Never leave the door disconnected longer than the test.
A door that passes the balance test but still strains usually has an opener or roller problem, not a spring problem. A door that fails the balance test has a spring or cable issue, and the correct fix is adjusting or replacing the springs, not working the opener harder. This single test keeps a lot of Chesapeake homeowners from paying for the wrong repair. If the door won’t hold itself, call a technician before you run the opener again.
Brand-Specific Behavior on LiftMaster, Chamberlain, Craftsman, and Raynor
Garage doors and openers fail in brand-specific ways, and a technician who knows the brand diagnoses faster than one who treats every system the same. We work on the brand already on your garage, and that brand knowledge matters most when symptoms are ambiguous. A few things we look for by brand:
- LiftMaster and Chamberlain openers are close cousins under the hood, and their myQ-era boards have characteristic behavior when the control board is failing. On these models, look at whether the wall control still responds while the safety sensors still show steady lights. If the wall control works and the remote doesn’t, you’re often looking at a remote or board pairing issue rather than a travel problem.
- Craftsman openers are common in older Chesapeake homes and their limit-adjustment screws are notoriously easy to over-turn, which causes the reverse-before-close symptom. If a door was fine until someone “adjusted” it, the limit is the first place to look.
- Raynor doors and openers tend to hold up well, but their commercial-style hardware means the hinges, rollers, and cable geometry are specific. The wrong replacement part throws the door out of balance. When part numbers matter, use the exact part.
Beyond the opener, the door itself carries brand-specific component specs: panel weights, spring wire gauge, roller style, and hardware geometry are different from one manufacturer to the next. That’s why a technician who’s fluent in the door brands sold in Chesapeake gets it right the first time. If your door carries a brand not on our list, ask before you schedule and we’ll be upfront about whether we can help.
The Stop List: Components You Should Never Touch
Some fixes look obvious and are genuinely dangerous. High-tension springs and cables are on that list, and so are a few less obvious components. The reason is straightforward: an extension or torsion spring under tension holds a tremendous amount of stored energy, and releasing it without the right tools and training can cause serious injury. This is one of the most commonly botched jobs in garage door work, and it’s why spring repair is a specialist job, not a generalist one.
- Torsion springs. The coil above the door on a torsion setup is under constant wind. Never try to wind, unwind, or remove it yourself. Even a cautious homeowner can get hurt in seconds.
- Extension springs and their safety cables. Older doors with extension springs on the sides can snap with force. The safety cables are there to contain a broken spring, and a broken or missing cable is a hazard in itself.
- Cables and drums. The cables carry the tension. Disconnecting them without releasing the spring tension first is where serious injuries happen.
- A door that has come off its track. A dislodged door can drop. Don’t force it back on; call for service.
What can you safely do yourself? Check sensor alignment, clean the sensor lenses, test door balance, keep the track clear of debris, lubricate hinges and rollers, and replace a remote battery or a bottom seal. Everything on the stop list is a professional repair. For the dangerous components, use a trained technician who has the right tools and the training to handle high-tension springs safely. If you have a spring or cable failure, call (877) 419-7485. We answer 24/7. A call outside dispatch hours is booked into the next opening, Sunday through Friday, 7am to 7pm.
Which Repairs Can Void Your Manufacturer Warranty
Garage door and opener warranties have specific conditions, and a do-it-yourself repair on certain components can void coverage on popular brands. For homeowners with newer LiftMaster openers or Clopay and Wayne Dalton doors, the warranty terms often require professional installation and service for moving parts and electrical components. A homeowner who replaces a control board, alters limit settings beyond the documented adjustment range, or installs a non-OEM part can find a later warranty claim denied. We can’t speak for every warranty document, but the safe rule is: check your owner’s manual before you open a component, and let a certified technician handle anything electrical or tension-loaded.
The good news is that a proper repair protects your warranty. When a qualified technician does the repair and documents it, the work is consistent with the manufacturer’s service requirements. Our technicians have up to 9 years of experience across the leading brands, so a garage door repair on a warranted door is handled the way the manufacturer expects. If you’re buying a new door and want to keep warranty coverage intact, that starts with a proper garage door installation. Installed right, adjusted right, working right.
Common Mistakes to Avoid
- Forcing a crooked door back into the track. A door that’s come off its track can drop, and forcing it can bend the panels or the track. Treat it as a stop-and-call situation, not something to shove.
- Blaming the opener for a spring problem. If the door fails the balance test, the opener isn’t the cause. Replacing the opener while the springs are weak just burns out the new opener too.
- Over-turning the limit switches. A small adjustment is fine; big swings set the door to reverse for the wrong reason or coast past the floor. Adjust one small step at a time and test.
- Ignoring a brittle bottom seal. In Chesapeake’s humidity, a cracked seal lets moisture in and disrupts the door’s seal and safety sensor alignment. It’s a cheap fix that prevents bigger issues.
- Skipping lubrication because the door still opens. Lubrication slows the corrosion that leads to spring fatigue. Skipping it doesn’t show up until something fails.
- Attempting spring or cable work yourself. This is the one on the list where the risk is real injury, not just a bigger bill. Leave it to a trained professional.
- Treating an emergency like a weekday repair. If the door is stuck open or won’t open and the garage is your main entry, that’s an emergency. Call for service and don’t leave the door in an unsafe position.
When to Call a Professional
Call a professional today if any of these are true: the door won’t move at all, you heard a spring break, the door travels crooked or binds, the door has come off its track, or the opener sparks, hums without moving, or trips a breaker. Those are symptoms where continuing to run the door risks damaging it further or causing injury. Also call if a check that looked simple (sensor or limit adjustment) didn’t resolve the problem after you tried the safe steps.
Emergency situations exist – a door stuck open when the garage is your primary entry, or a spring failure that leaves the door unusable. This is a core offering, not an upsell: when your door becomes a safety or security crisis, you need service, not a callback next week. Chesapeake Garage Door Repair Experts offers free estimates in Chesapeake. Call (877) 419-7485. We answer 24/7. Fast dispatch from 7am to 7pm, Sunday through Friday. The price is set per job by the written estimate, quoted and agreed before any work starts.
Frequently Asked Questions
Run the balance test: disconnect the door from the opener, lift it halfway by hand, and let go. If the door sinks or rises on its own, the springs are the problem; if it stays balanced but strains, the opener is the culprit. Don’t run the opener again on a door that fails the balance test. Call (877) 419-7485 if you’re unsure – estimates are free.
No. Our price is set per job by the written estimate, quoted and agreed before any work starts, whether the call is a weekday repair or an emergency. Call (877) 419-7485 for an exact quote – estimates are free.
Yes, spring and opener repairs are often done the same day. We answer 24/7, with fast dispatch from 7am to 7pm, Sunday through Friday. A call outside dispatch hours is booked into the next opening.
It’s usually the safety sensors or the travel limit, not the motor. Wipe the sensor lenses and check that the beam isn’t blocked or misaligned, then look at the limit switches. If those checks don’t fix it, call (877) 419-7485 for an opener repair.
The local professional we connect you with is licensed and insured as their state requires. Our technicians have up to 9 years of experience across the leading door and opener brands. To arrange a visit, call (877) 419-7485.
No. High-tension garage door springs and cables store enough energy to cause serious injury, and improper spring work is a leading cause of garage door injury and repeat failures. This is a job for a trained technician. Call (877) 419-7485.
It depends on the door’s condition and how many components are failing at once. A single component fix (a spring, an opener, a roller set) is usually the repair route, while widespread panel, cable, and operator failure often points to replacement. We’ll give you a clear answer and a written estimate either way.
The Bottom Line
Your garage door isn’t just broken – it’s telling you what’s wrong. Match the symptom to the cause: reverse-on-close points to sensors or limits, a bang or a door that won’t lift points to springs, grinding points to rollers or track, and a door that responds to nothing points to the opener board. Do the free safe checks, respect the stop list on springs and cables, and protect your brand warranty by having electrical and tension work done by a trained technician. In Chesapeake’s humid climate, pay special attention to spring corrosion and the bottom seal. If you’re not sure, call a specialist and skip the guesswork. Contact Chesapeake Garage Door Repair Experts at (877) 419-7485 for a free estimate. We answer 24/7, with fast dispatch from 7am to 7pm, Sunday through Friday.
Written by the team at Chesapeake Garage Door Repair Experts.
See the difference
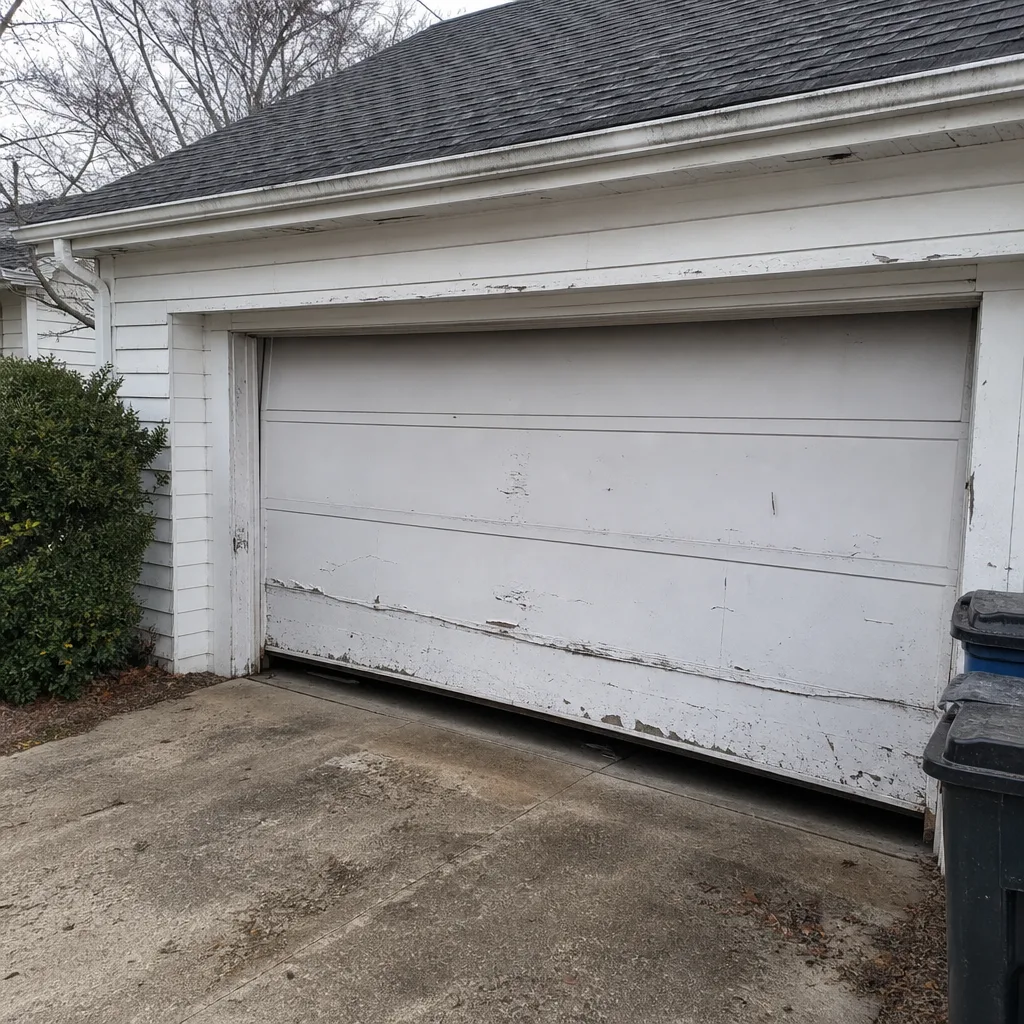 Before
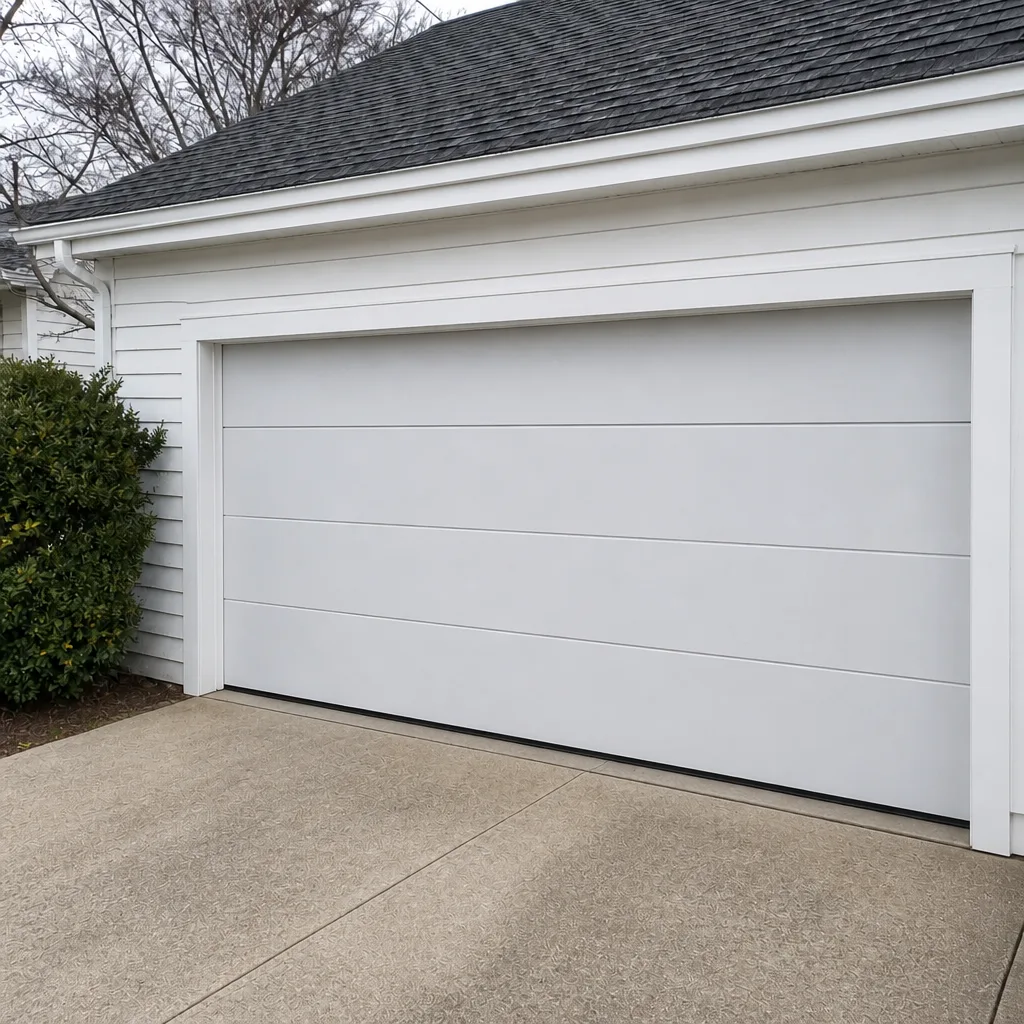 After
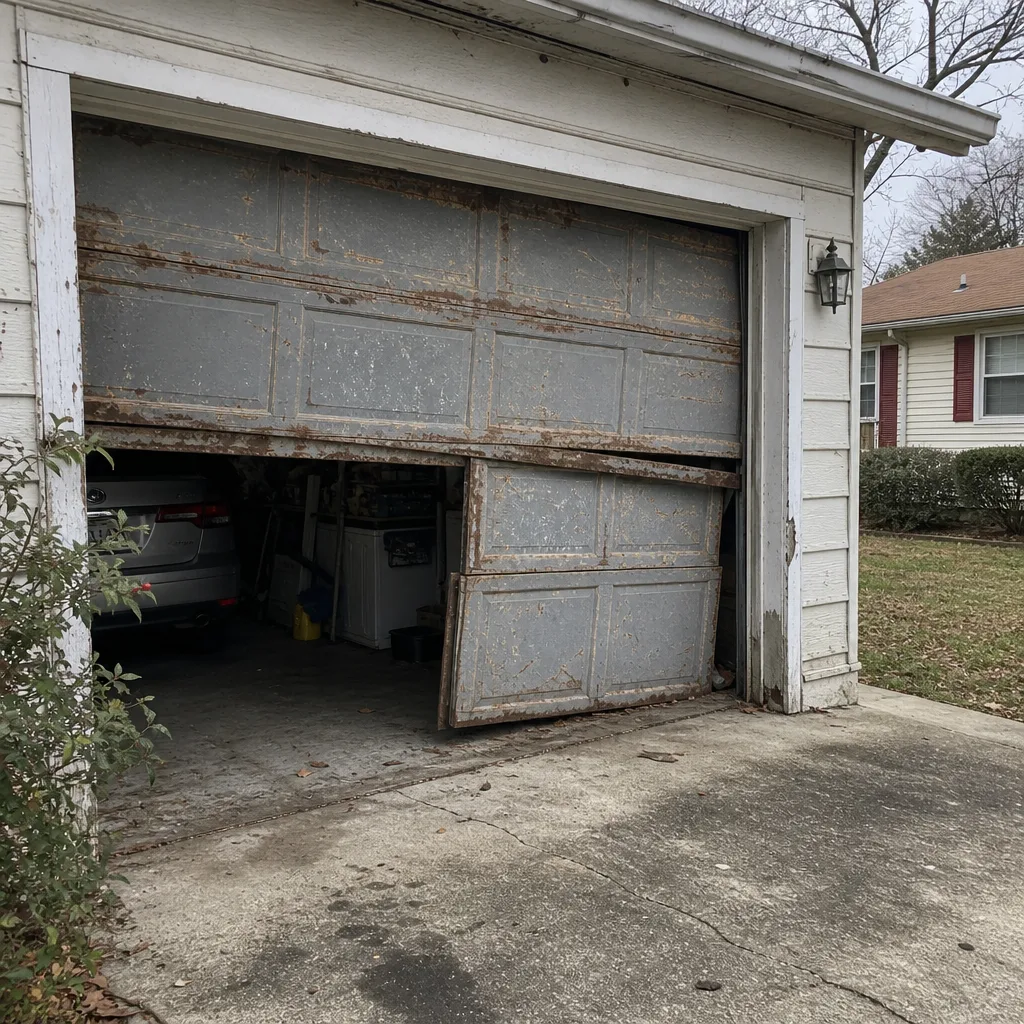 Before
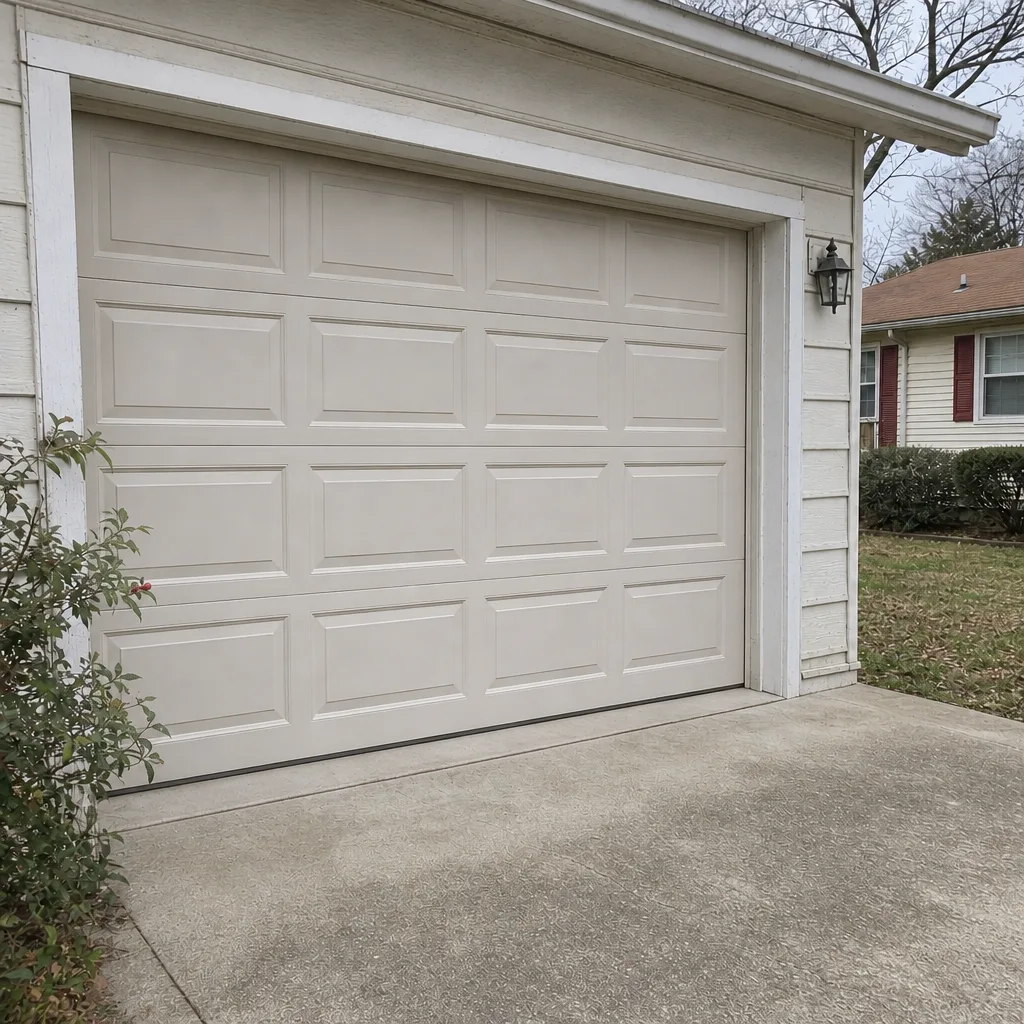 After
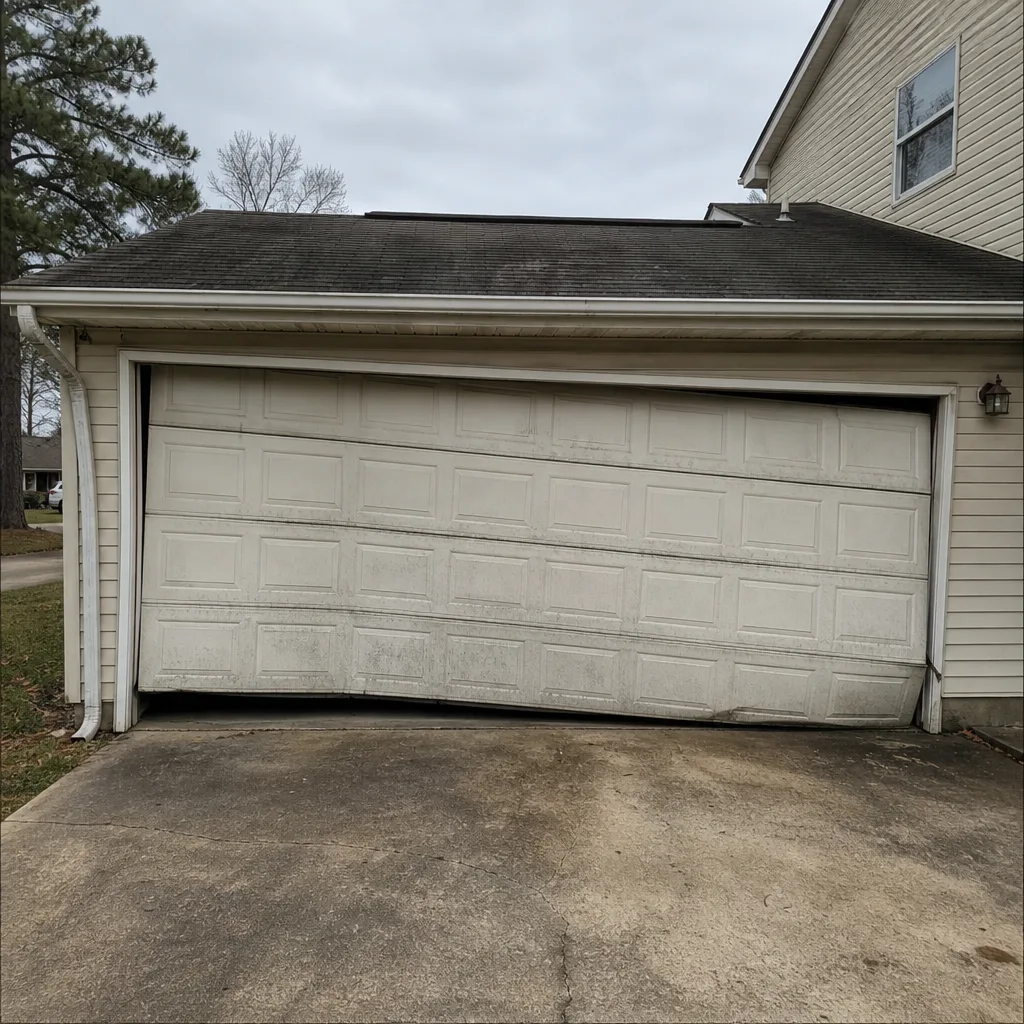 Before
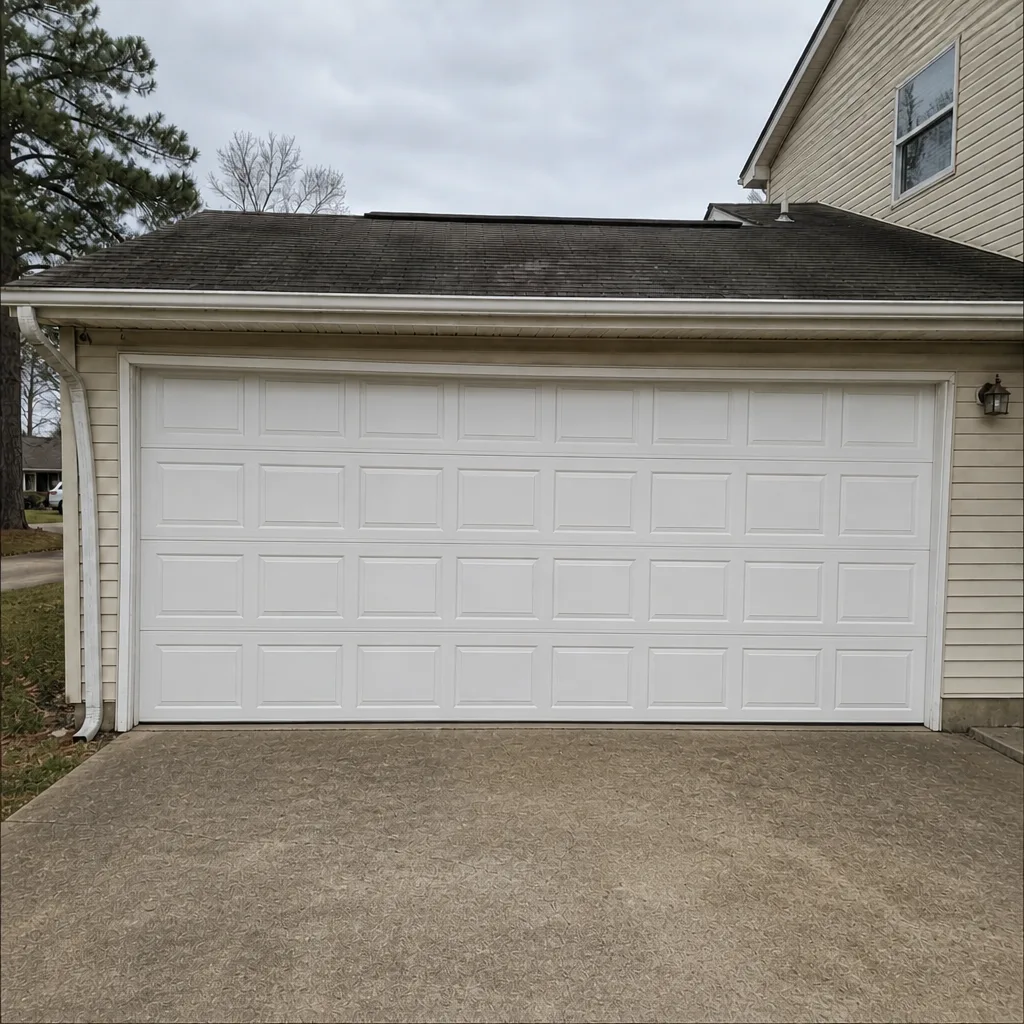 After