
Last updated November 21, 2026
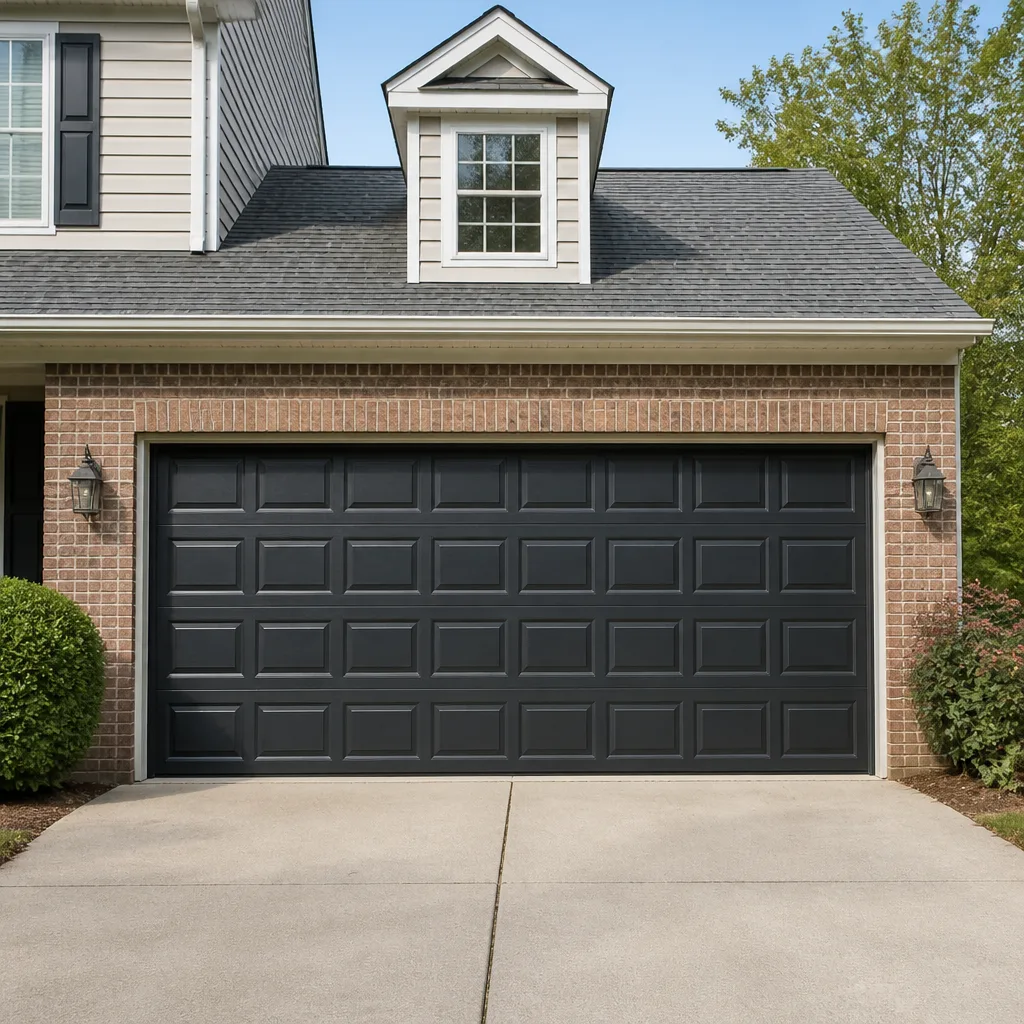 Raised-panel steel
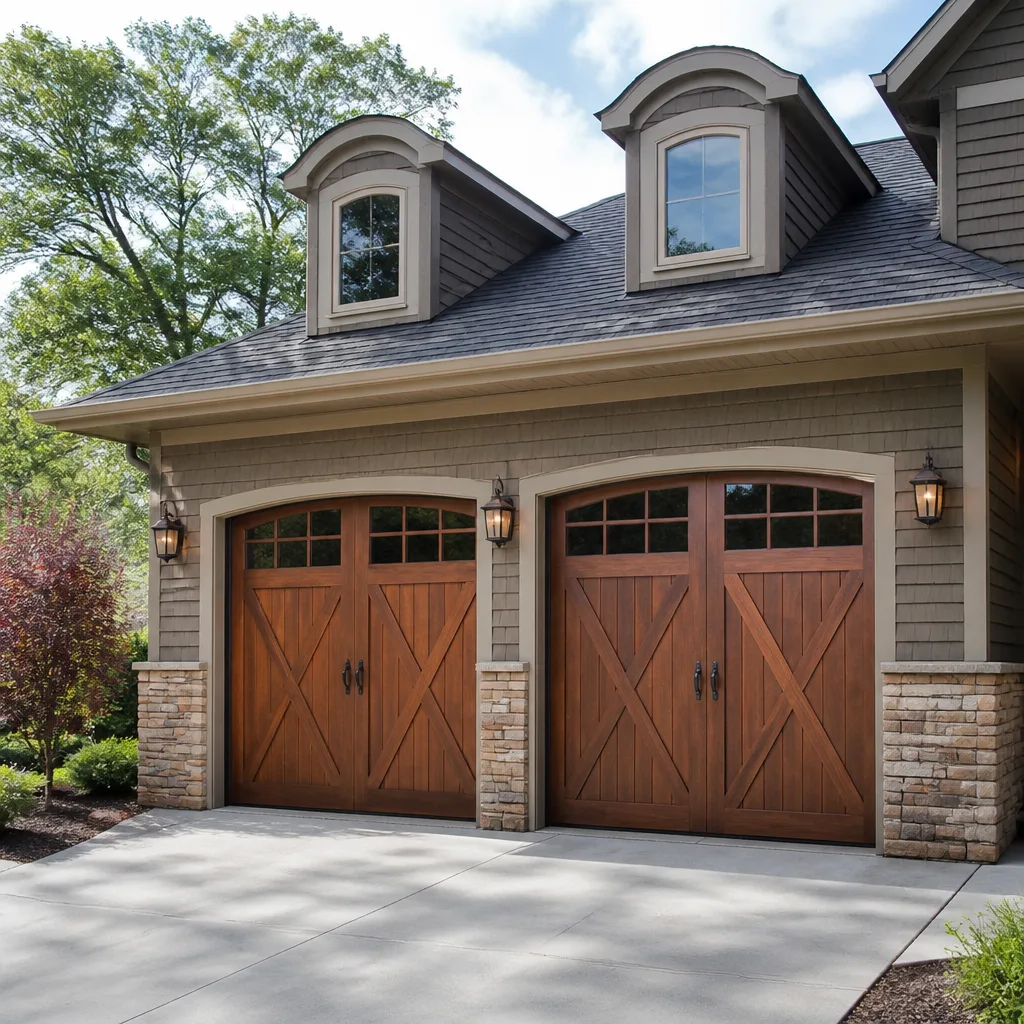 Carriage house
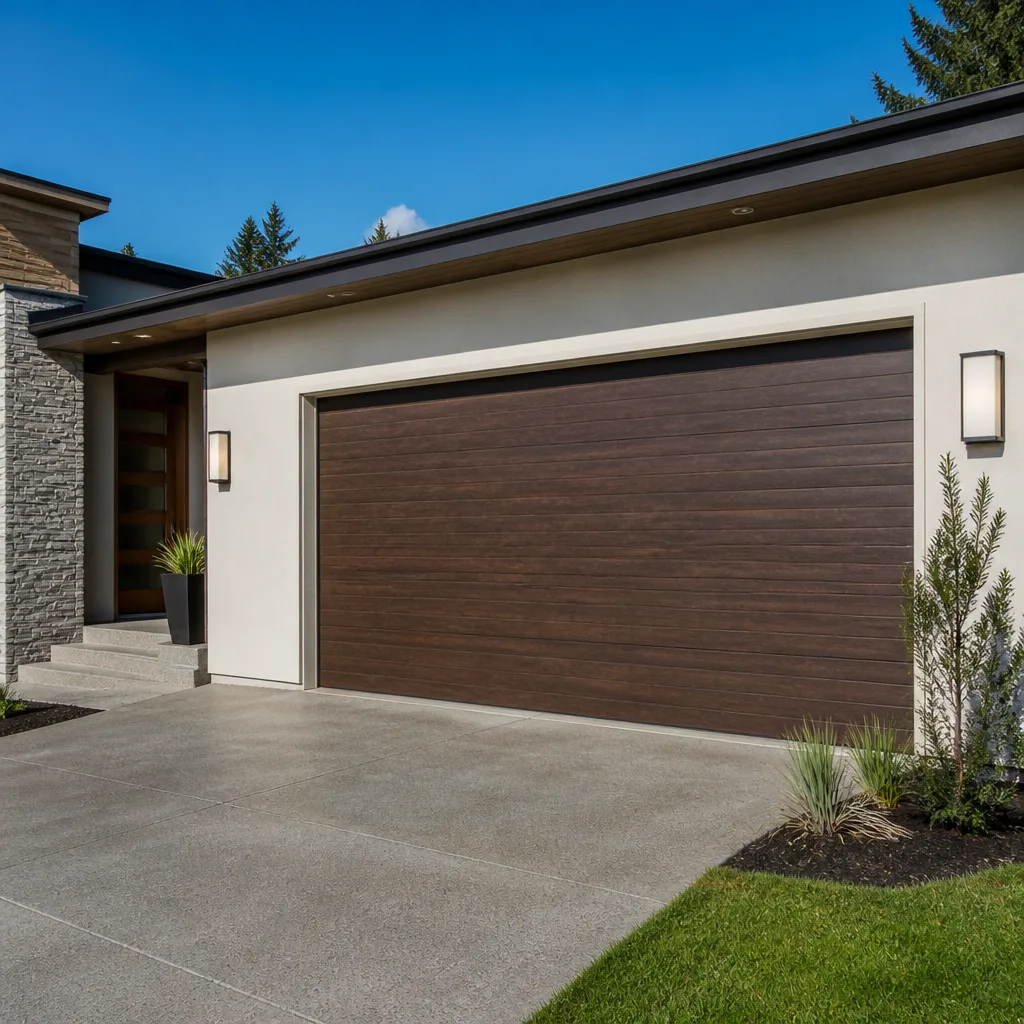 Modern flush
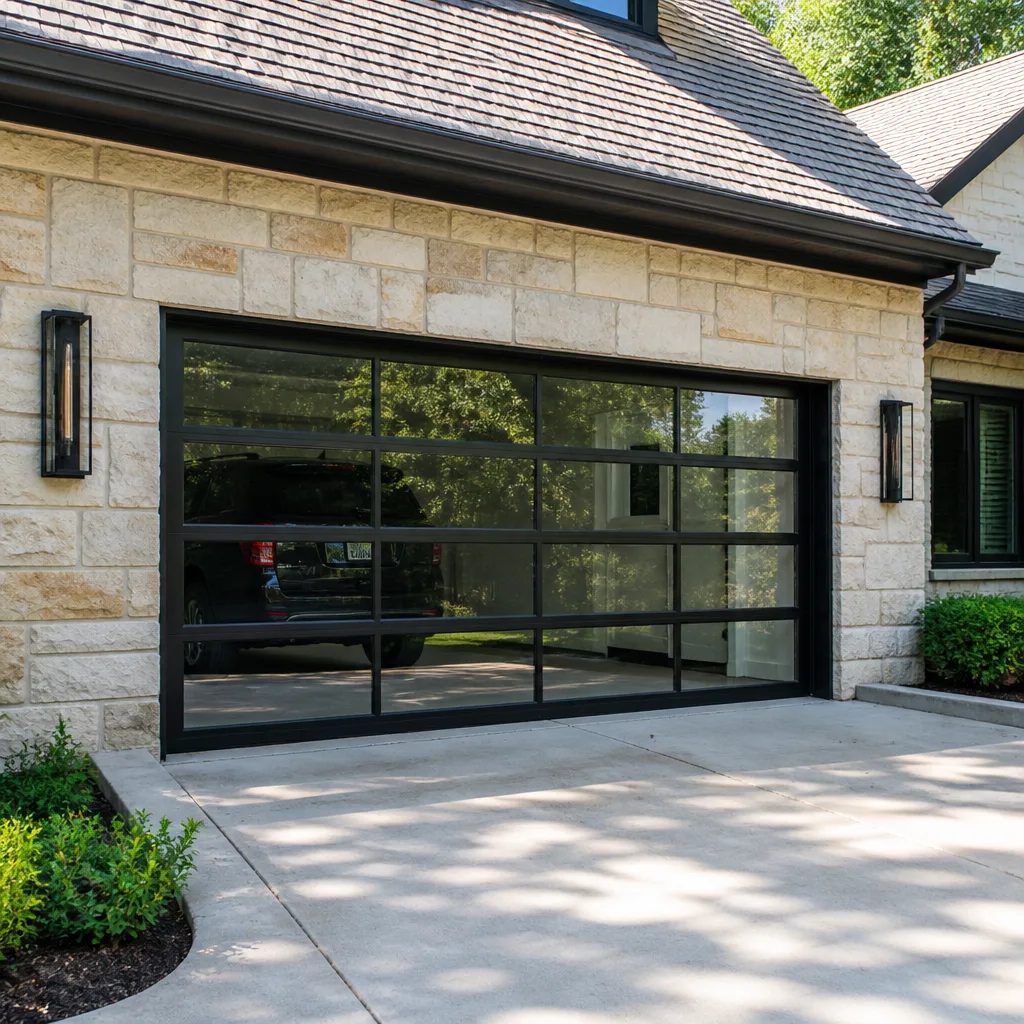 Full-view glass
 LiftMaster openers
 Chamberlain openers
Full 25-point door and opener safety check with every visit - springs, cables, rollers, tracks, and your LiftMaster or Chamberlain opener included
You get a price before we start. It does not change when the pro arrives.
Get your free estimateGarage Door Repair Maintenance Checklist for Chesapeake Homeowners
Most homeowners assume springs fail from old age or that the opener is the first thing to wear out. In our experience walking doors across Chesapeake, the slow killer is usually at the very bottom: a cracked bottom seal that wicks moisture up into the panels, swelling the wood core and rusting the steel skin from the inside out. By the time the door starts binding, the damage has been spreading for months. This guide gives you the checklist our technicians actually use, walked in the same order a pro inspects a door: bottom to top, hardware before opener. You’ll learn what to check monthly, how to test balance without a torque wrench, which parts get grease and which get silicone, and the Chesapeake-area spots that corrode fastest. A few minutes a month is what keeps a door out of the expensive repair column.
Quick Answer
A solid garage door maintenance routine in Chesapeake means a monthly visual walk of the door from the bottom seal upward, lubrication of hinges, rollers, and springs every few months, and a balance and force test twice a year. The parts that fail first here are the bottom seal, hinge pins, and roller stems, because humid air and ground moisture work on them constantly. Most expensive garage door failures we see started as a cheap part nobody looked at.
Styles & brands we work with
- Raised-panel steel
- Carriage house
- Modern flush
- Full-view glass
- LiftMaster openers
- Chamberlain openers
Table of Contents
- Why the Inspection Order Matters
- Step 1: The Bottom-to-Top Walkthrough
- Chesapeake Corrosion Checkpoints
- Lubrication: What Gets What (and What Gets Nothing)
- The Balance Test and Force-Limit Test
- How Often Should You Do This in Chesapeake?
- Seasonal Adjustments for a Chesapeake Door
- What You Should Never Touch
Why the Inspection Order Matters
Printed checklists tend to be alphabetical or grouped by part type, which is fine for a reference sheet and useless for an actual inspection. A technician doesn’t start at the opener. The opener is the last thing in the chain, so a problem anywhere below it will show up as an opener symptom. Inspecting bottom to top, and hardware before opener, means you find the cause instead of the symptom.
Here’s the logic in plain terms. The bottom seal sits closest to the slab, where moisture and grit collect. The panels above it take the load the seal fails to keep out. Hinges and rollers carry the door’s weight through every cycle, so they wear before the opener does. The torsion shaft and springs at the top only come into play once the door is balanced and moving freely. If you test the opener first and it strains, you learn nothing. If you walk the door first, you’ll usually find the hinge or roller that’s causing the strain.
That sequencing matters even more in Chesapeake, where a door faces humid summers, nor’easter rain, and freeze-thaw swings in winter. Each of those stresses a different part of the door, and checking in the right order tells you which stress is winning. When the door gets stubborn about opening or closing, garage door repair starts with this same walk, which is why a good diagnosis usually takes less time than the fix itself.
Step 1: The Bottom-to-Top Walkthrough
This is the monthly inspection, and it takes about ten minutes once you know the order. Do it with the door closed and the opener disconnected, so nothing moves while you’re checking.
- Bottom seal and threshold. Run a hand along the rubber seal under the door. Look for cracks, flattened sections, tears at the corners, and gaps where daylight shows through. Check the concrete threshold for standing water or crumbling edges after rain.
- Bottom panel. Press on the inside face of the lowest panel. Soft spots, bubbling paint, or a rusty seam at the bottom edge mean moisture has been getting in.
- Hinges. Wobble each hinge by hand. Loose screws, elongated screw holes, or rust bleeding from the pin are all early warnings.
- Rollers and tracks. Spin each roller with a finger. It should turn freely and quietly. Look down the track for dents, debris, and any section where the roller sits unevenly.
- Lift cables. With the door closed, check that both cables are taut and sitting properly on their drums. Fraying strands or a cable off its drum means stop and call a professional.
- Torsion shaft and springs (visual only). Look at the springs above the door for gaps, rust, or sagging. Check that the shaft’s end bearings and mounting brackets are tight. Do not adjust anything here.
- Opener and safety reverse. Reconnect the opener, run the door, and test the auto-reverse with a roll of paper towels on the ground. Check the safety eye alignment and clean the lenses.
Chesapeake homeowners who get familiar with this order start noticing the small things early: a hinge pin that’s just starting to rust, a roller that’s gone stiff before it cracked. That’s the whole point. Catch it at the hinge stage and it stays a Saturday-morning project; catch it at the spring stage and it’s a service call. If your system is a LiftMaster or Chamberlain, most of that monthly checklist is the same regardless of model, and the opener portion of garage door opener repair generally starts with confirming the door itself moves freely.
Chesapeake Corrosion Checkpoints
Humidity does more garage door damage here than any single storm. The region’s damp air and the moisture that rises off the ground hold a thin film of water on bare metal for much of the year, and that’s enough to start oxidation on unpainted parts. We check four spots first because they consistently show wear before anything else does.
- Hinge pins. The pin is a bare steel rod inside a knuckle, so it holds moisture and can’t shed it. Rust here stiffens the joint, which throws off the door’s travel.
- Roller stems. The stem is the metal shaft the roller rides on. When it oxidizes, the roller stops spinning and starts skidding along the track, which wears both parts.
- Torsion shaft ends. The shaft spins inside its end bearings. Rust at the bearing surfaces adds drag, and the springs have to work harder to lift the same door.
- Bottom fixtures and cable attachment points. These sit low, close to the slab and splash zone, and corrode fastest of all the hardware.
If your door is older or you’ve noticed the paint failing on the lower panels, this is where a new-door decision eventually enters the picture. Newer Clopay and Amarr models come with factory finishes that hold up to humidity better than a repainted older door. When that day comes, garage door installation covers measurement, panel options, and opener compatibility in one visit.
Lubrication: What Gets What (and What Gets Nothing)
Lubrication is where well-meaning homeowners do the most damage. Using the wrong product on the wrong component attracts grit, gums up moving parts, and can ruin rollers that were fine. Here’s the breakdown we work from.
- Lithium grease (or a white lithium spray): torsion springs, the torsion shaft bearings, and the steel hinges’ pin joints. These are high-load metal-on-metal points where you want a durable film that stays put.
- Silicone spray: roller stems, the inside of the tracks, and the weather seal where it contacts the door. Silicone is dry, doesn’t attract dust, and lets nylon or steel rollers travel smoothly.
- Never lubricate: nylon rollers’ wheel surfaces, the opener’s drive belt or chain (unless the manufacturer’s manual says otherwise), the safety eye lenses, and the photo-eye brackets. Greasing the roller wheels or the track surface collects grit and causes skidding. Greasing the belt invites slipping. A dirty lens causes false reverses.
Do the lubrication after the inspection, not before, so you’re greasing parts that passed. A little goes a long way: one short spray per hinge, a light coat on the springs, and a silicone wipe down the tracks. If you have a Genie opener with a belt drive, keep grease away from the belt entirely. When in doubt, the manual for your specific unit is the final word, and one of the reasons we keep up with the major brands is so we can tell you exactly what your model expects.
The Balance Test and Force-Limit Test
These two tests tell you if the door is working against itself, which is the most common cause of opener burnout. You don’t need any tools, just a careful hand.
The Balance Test
- Close the door and pull the emergency release cord to disconnect the opener. Stay clear of the door while you do this.
- Lift the door by hand to about halfway open, then let go gently.
- Pass: the door holds roughly where you left it, maybe drifting a few inches on its own. Fail: it slams down, rolls up on its own, or takes real effort to lift and lower.
A door that fails balance is putting the whole load on the opener or on you. Don’t keep cycling it; a spring is probably out of adjustment or worn, and that’s pro territory.
The Force-Limit Test
- Reconnect the opener and open the door fully.
- Place a roll of paper towels flat on the ground under the door and close it.
- Pass: the door reverses immediately on contact and returns to open. Fail: the door presses down on the roll at all, or the opener labors before reversing.
Repeat the test on the opening cycle by holding the door lightly as it rises. It should stop and reverse. If either test fails, stop using the opener and call us. The force limit is a safety setting, not a performance setting, and locking it open is a mistake we fix regularly in Chesapeake.
How Often Should You Do This in Chesapeake?
There’s no single right answer. The interval depends on three things: how old the door is, how many cycles it does per day, and how close your home sits to tidal water, which keeps the air permanently damp. Use this table as a starting point.
- New door (under 5 years), light use (1-2 cycles a day), inland: full walkthrough twice a year, lubrication once a year.
- Mid-life door (5-15 years), average use (3-6 cycles a day): full walkthrough quarterly, lubrication every 4 to 6 months. This is the most common Chesapeake situation.
- Older door (15+ years) or heavy use (8+ cycles a day): monthly walkthrough, lubrication every 2 to 3 months, and the balance and force tests monthly.
- Any door on a low lot or within a short walk of tidal water: move up one tier. Add a hinge and roller inspection every month, and expect the bottom seal to need attention sooner.
If you’ve never tracked this and don’t want to, the simplest move is a twice-a-year walk plus a professional inspection annually. Most homeowners find that once they know the order, the check gets faster every time they do it.
Seasonal Adjustments for a Chesapeake Door
The door lives through noticeably different conditions across the year, and a few seasonal notes are worth keeping in mind.
In spring and early summer, humidity climbs and everything that holds moisture starts to show it. This is the best time to check the bottom seal, hinge pins, and roller stems, and to do a full lubrication. In late summer, heat causes steel track to expand slightly, and an opener’s travel limits may need adjusting if the door starts stopping short of the floor. In fall, drop the force limit checks back in so the opener is calibrated before the first cold snap. In winter, freezing nights and thawing days move the slab and the threshold, which can leave a gap under the bottom seal; check it after the first freeze.
Spring is also the time to look at the whole door for panel wear and paint failure. If the door is 15 years or older and the lower panels are the only failing part, a professional assessment will tell you whether it’s worth repairing or replacing. If you’re thinking ahead to a full replacement, we walk that door with you the same way, so you’re making a decision from the parts on the door, not a guess.
What You Should Never Touch
We can’t say this plainly enough: torsion springs and lift cables are the two most dangerous parts on the door, and they are not homeowner-serviceable. A torsion spring is under extreme tension even when the door is closed, and the hardware that holds it can fail suddenly if it’s adjusted incorrectly. Lift cables are under similar load. If you see a sagging spring, a gap in a spring, a frayed cable, or a cable off its drum, leave the door closed if you can, do not cycle the opener, and call for repair.
Everything above is about inspecting and maintaining the safe parts: the seal, the panels, the hinges, the rollers, the lubrication, and the two safety tests. That’s the right split. Our technicians have up to 9 years of experience on exactly this equipment, and spring work in particular is the job where that experience matters most. If something here is beyond what you’re comfortable with, or if you just want a pro to walk the door with you, that’s exactly what we do.
Common Mistakes to Avoid
- Lubricating nylon rollers or the track surface. Grease collects grit and makes nylon rollers skid. Use silicone, and sparingly.
- Skipping the bottom seal. It’s the least glamorous part on the door and the first thing we see fail in Chesapeake. Check it monthly.
- Turning up the opener’s force limit instead of fixing the door. If the door needs more force, something below it is binding. Locking the force up hides the problem and strains the opener.
- Setting the balance test aside. A door that doesn’t hold its place is asking the opener to do the spring’s job. That ends with a burned-out opener.
- Pulling the emergency release with the door up. Disconnect only with the door closed, and never while it’s moving.
- Treating every brand the same. A LiftMaster, a Genie, and a Craftsman opener have different force-calibration procedures. Guessing at the settings is how a working opener gets misadjusted.
- Waiting until the door stops moving entirely. Almost every emergency call we get starts with a symptom the homeowner had noticed for months.
See the difference
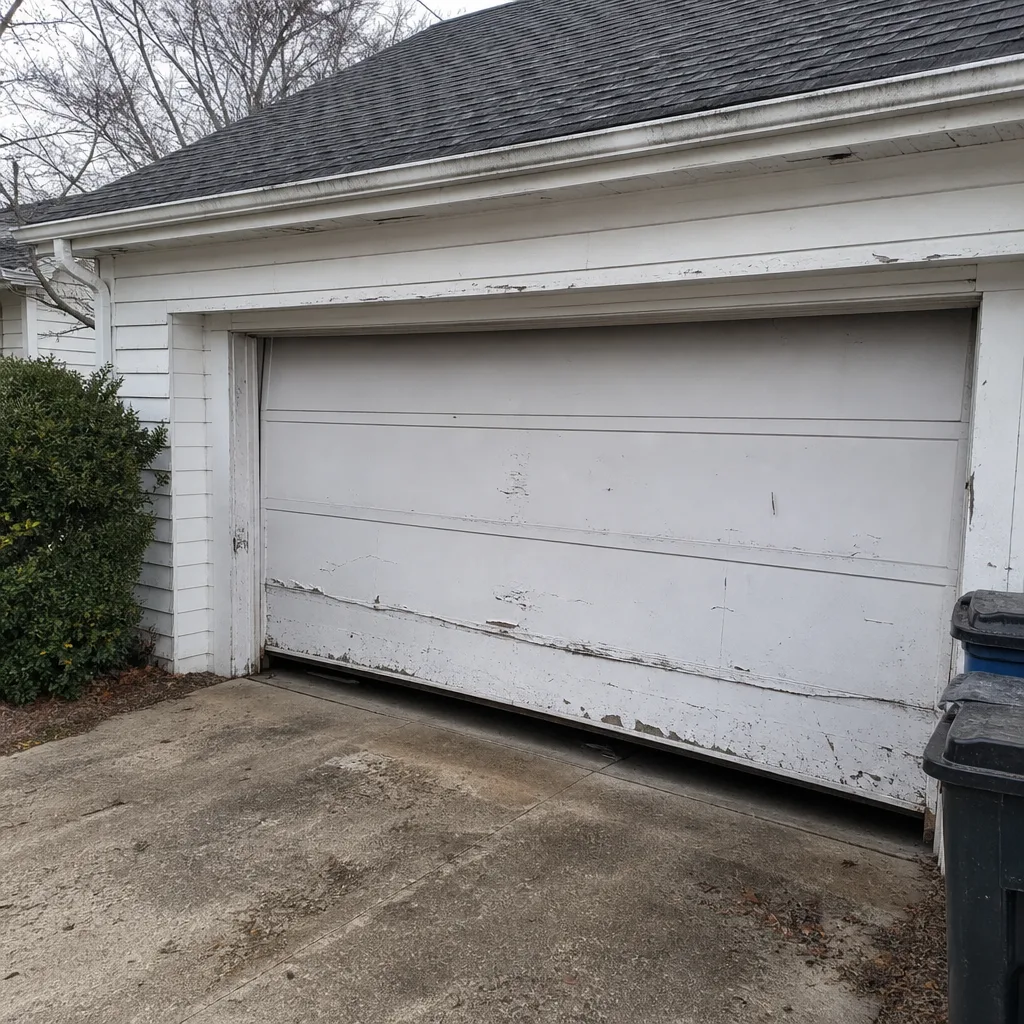 Before
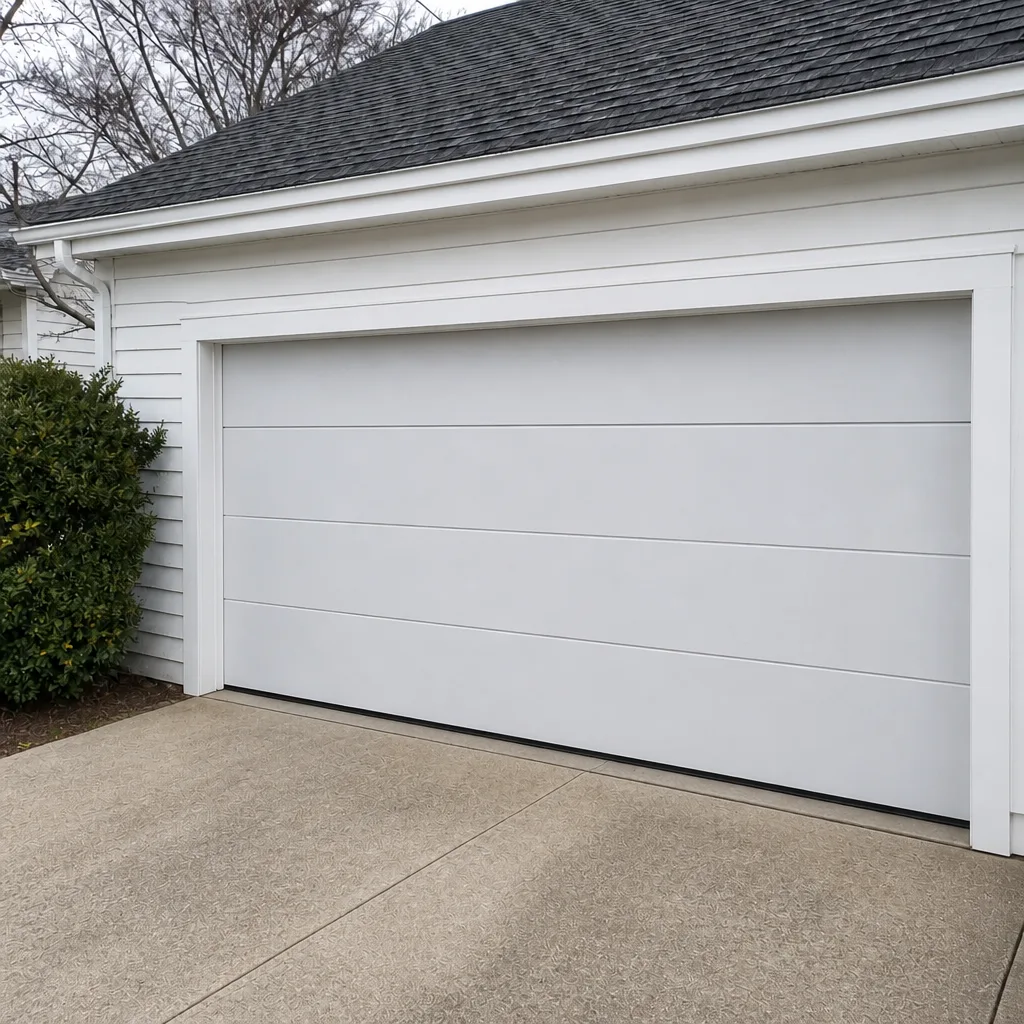 After
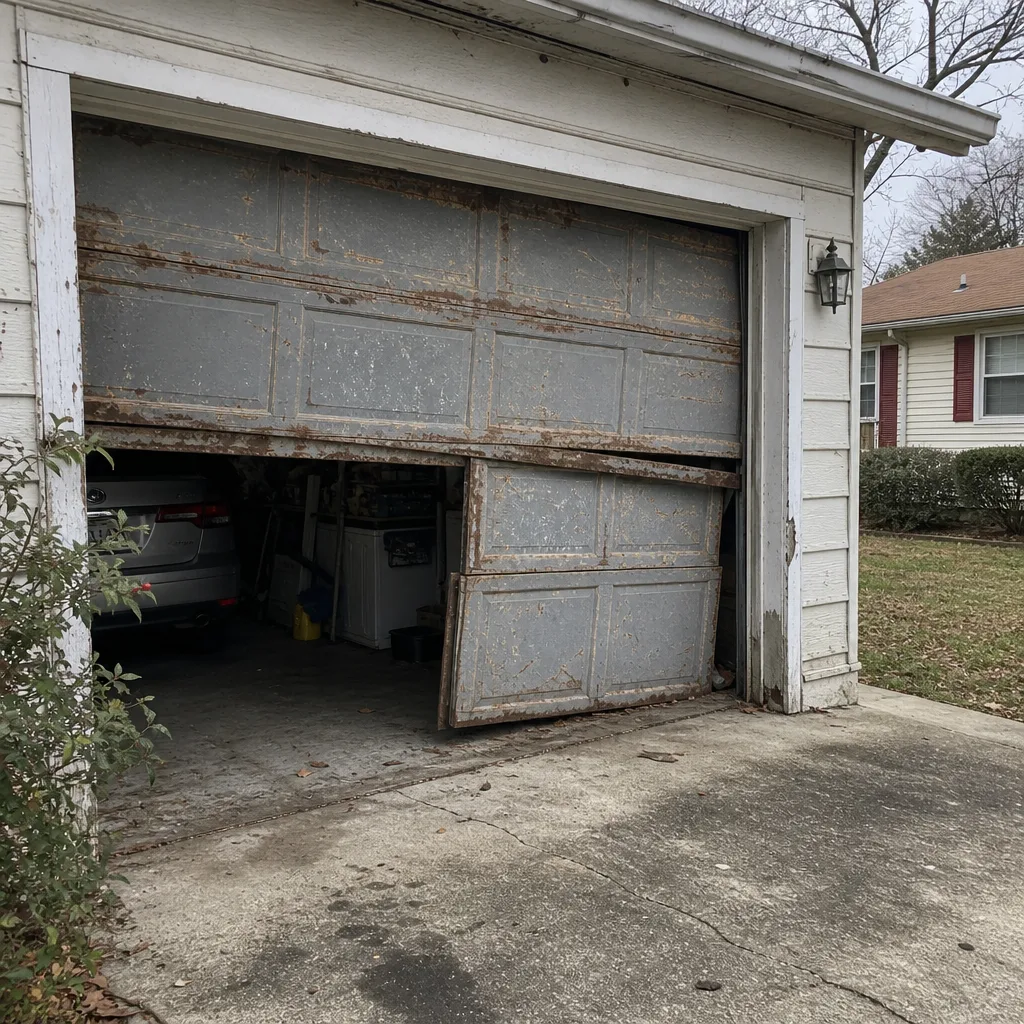 Before
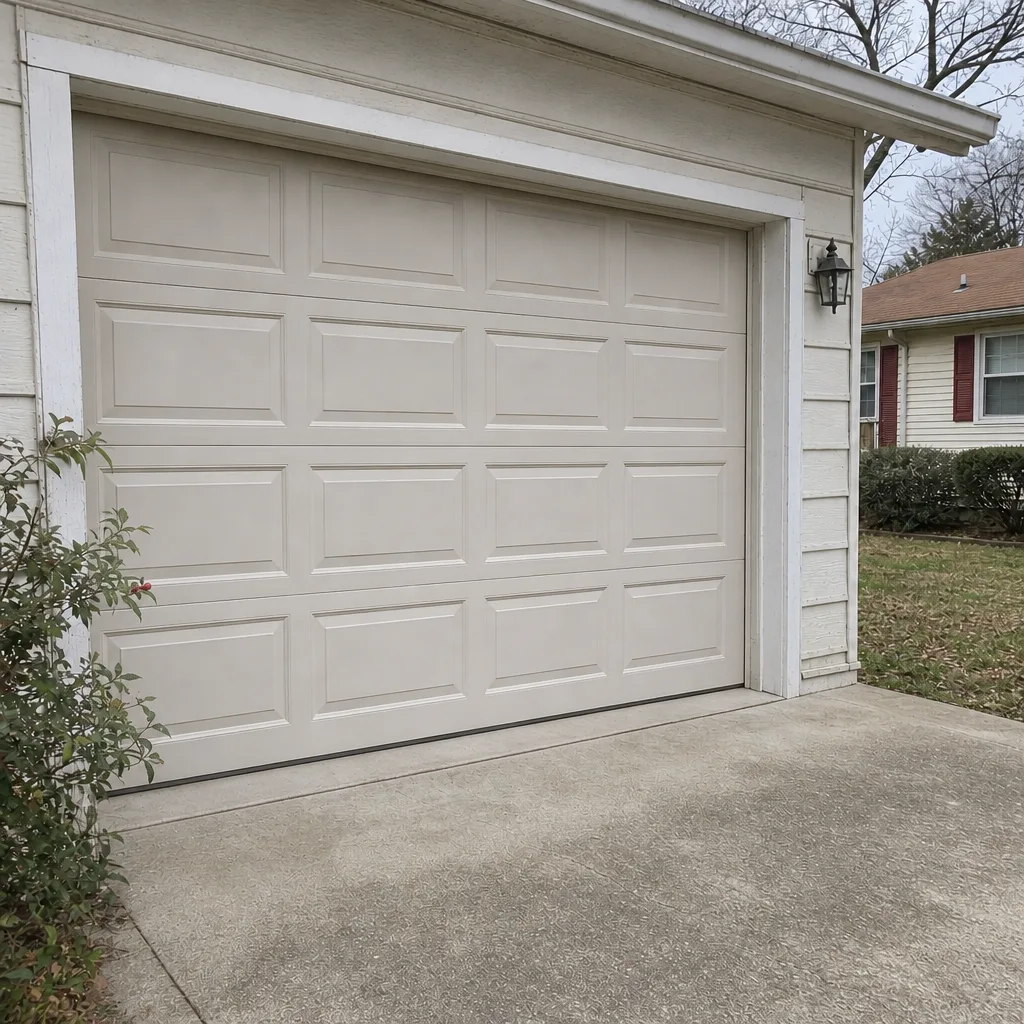 After
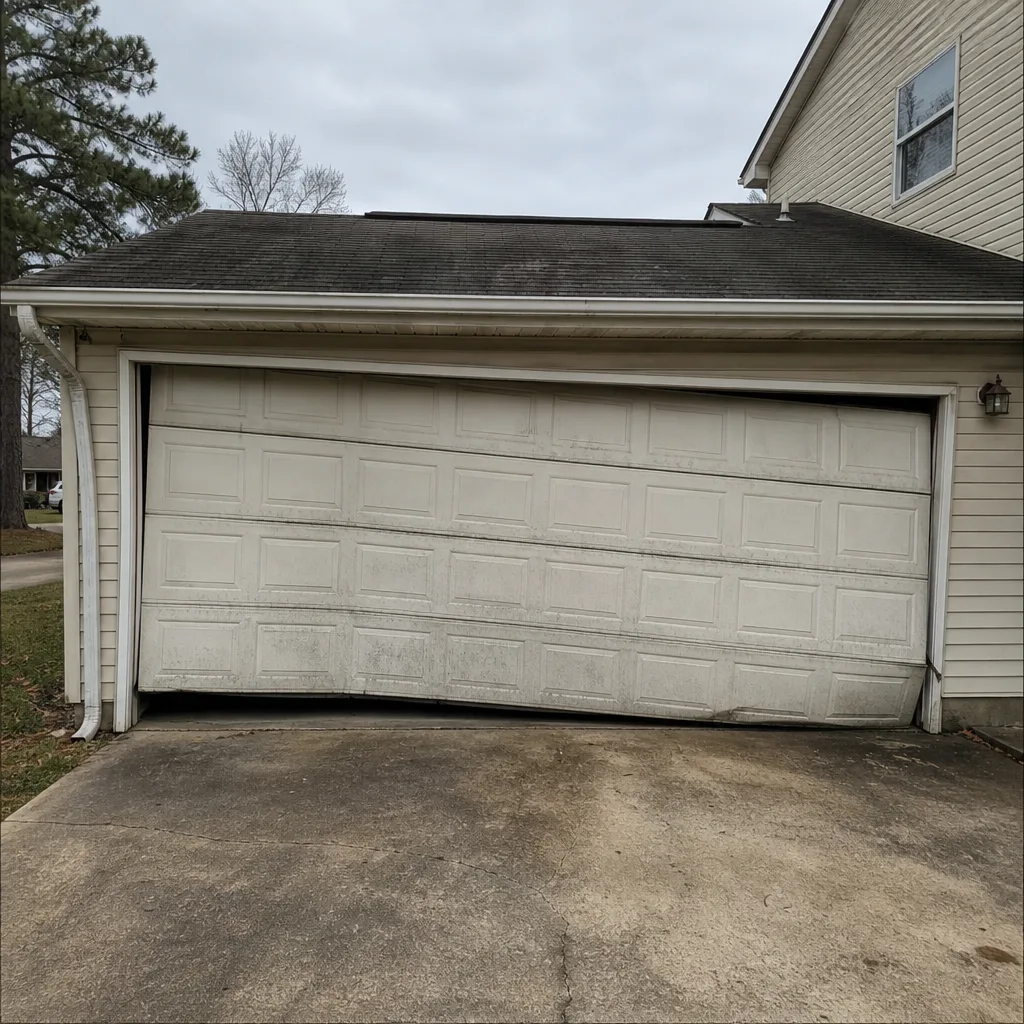 Before
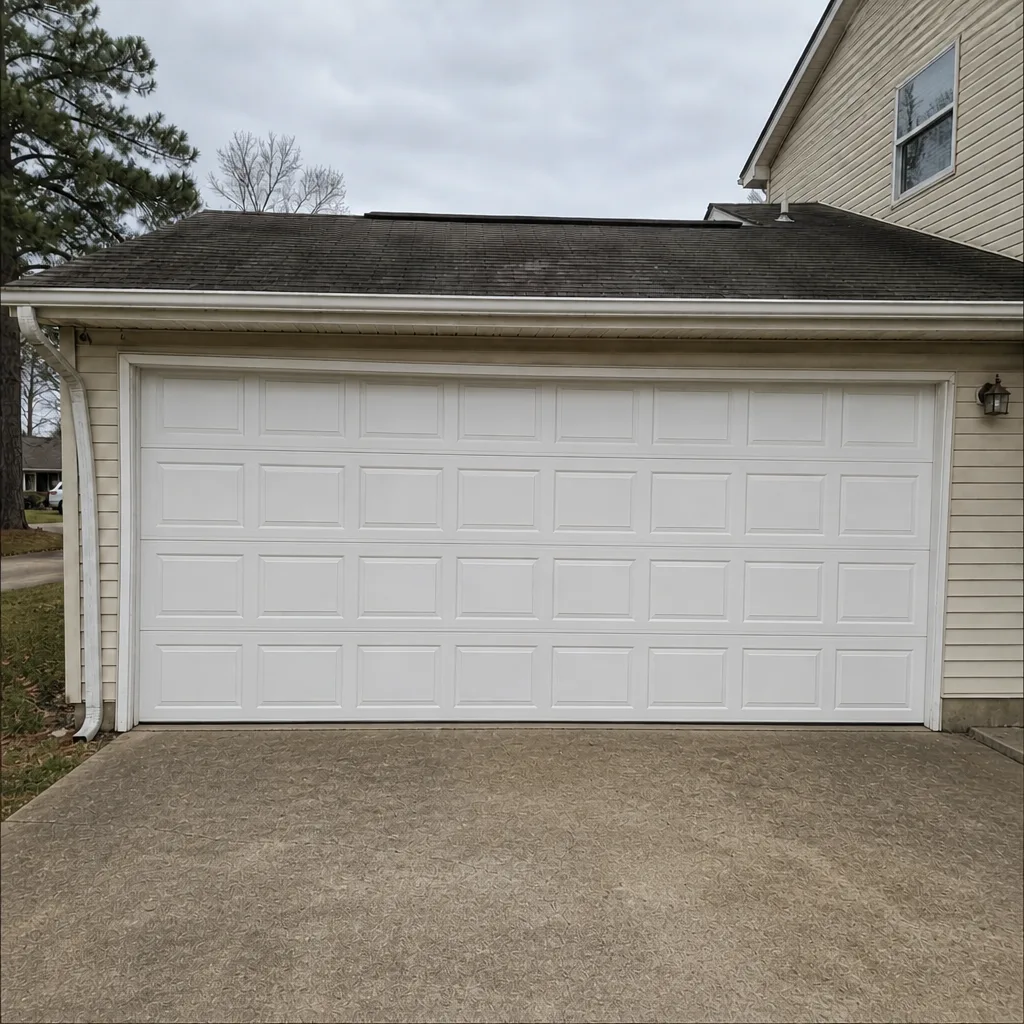 After
When to Call a Professional
Call a professional if you see a broken or sagging spring, a frayed or off-track cable, a door that fails the balance test or the force-limit test, a door that’s come off its track, or a panel that’s separated from its hinges. Also call if the opener runs but the door doesn’t move, if the door reverses for no reason, or if the bottom seal is letting in water you can’t stop with a simple replacement. None of those are worth a weekend gamble.
Chesapeake Garage Door Repair Experts offers free estimates in Chesapeake. Call (877) 419-7485. We answer 24/7. Fast dispatch from 7am to 7pm, Sunday through Friday. If a call comes in outside that window, we’ll book you into the next opening. A technician will walk the door, tell you what’s actually wrong, and give you a written price before any work starts.
Frequently Asked Questions
For most Chesapeake homes, a full inspection twice a year plus lubrication two to three times a year is enough to stay ahead of the humidity. If your door is older than 15 years or cycles more than 8 times a day, drop to a monthly walkthrough. The bottom seal and hinge pins deserve a look every month regardless.
For most homeowners here, it’s a bottom seal that’s cracked or letting light through. That leads to moisture in the panels, then swelling and rust below the paint line. Catch it with a monthly hand check and it’s a quick replacement. Miss it and the panel damage grows. Call (877) 419-7485 if you’re not sure what you’re looking at; estimates are free.
Yes, on the safe parts: hinges, springs, the torsion shaft bearings, and the track with silicone. Don’t lubricate nylon roller wheels or the opener belt, and never touch the springs with your hands, only a light spray from a distance. If you’re not sure which component is which, ask us before you grease anything.
Check the rollers and tracks next, then the opener itself. A stiff roller, a slightly bent track, or a misaligned safety eye can all make the opener seem weak without the door being out of balance. LiftMaster, Chamberlain, and Genie openers all have specific force settings we can check. Call (877) 419-7485 and we’ll help you sort it out.
In most cases, yes. We work on LiftMaster, Chamberlain, Genie, Clopay, Amarr, Wayne Dalton, Craftsman, and Raynor equipment, and we diagnose the actual system in front of us rather than a generic approximation. If you’re not sure what you have, we can identify it during a service visit.
No. Maintenance is a much smaller line item than a spring or opener replacement, and the whole point of the checklist is to catch the small stuff while it’s still small. Every visit begins with a free estimate and a written price that you approve before work begins. Call (877) 419-7485 for an exact quote.
The Bottom Line
A garage door fails slowly, then all at once. The bottom seal gives out, moisture gets in, hinges rust, rollers stiffen, and the opener finally gives up trying to lift a door that’s fighting it. The checklist in this guide breaks that chain: inspect bottom to top, lubricate the right parts with the right products, run the balance and force tests twice a year, and watch the Chesapeake corrosion spots most closely. None of it takes long, and all of it is cheaper than the repair it prevents. If your door is showing symptoms, or you’d rather have a professional walk it, call (877) 419-7485 for a free estimate.
Written by the team at Chesapeake Garage Door Repair Experts.